
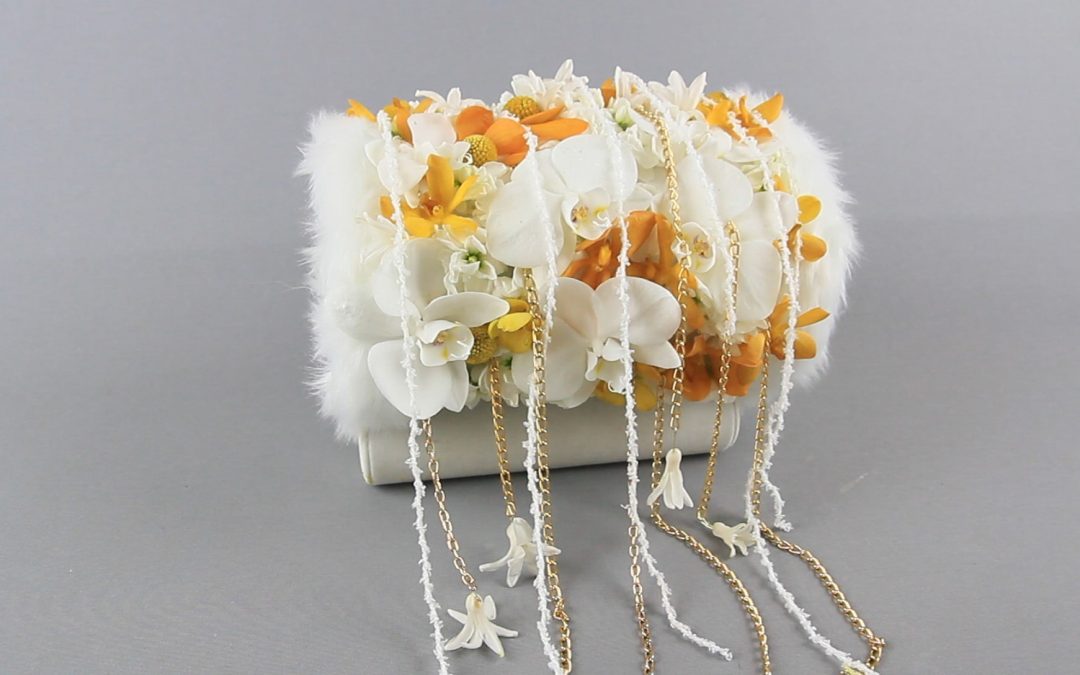
A floral muff is the best alternative design comparing to a bridal bouquet for winter times, you can put your hands inside and have the flowers be shown in their glory. Floral muff can be designed with fur, wool, or grass for summer weddings, but it definitely needed to be considered for a bride seeks nontraditional bouquet.
I would like to share how to make a floral muff step by step because there is some trick present in the process.
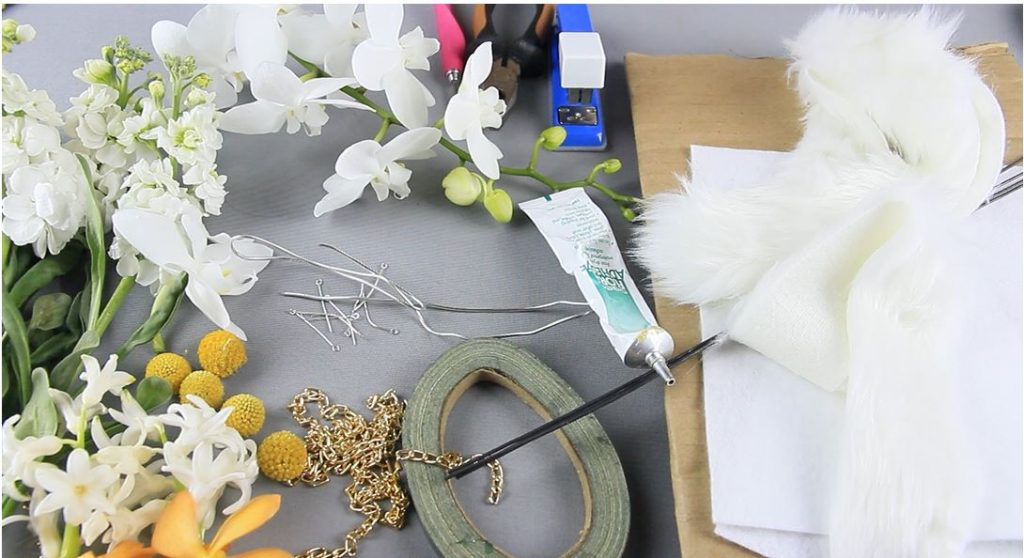
Materials:
cardboard
heavy-duty wire
bowl tape
piece of fur
wool sheets
some chains
a piece of aluminum wire
Stock
Phalaenopsis
Mokara Orchids
Billy Balls aka Craspedia
Hyacinth separated to blooms
stapler, hole maker, pliers, glue cold and hot
Step 1
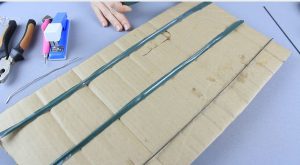
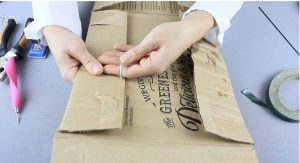
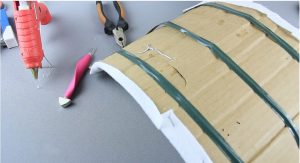
Cut a carton for about 12in x 28-30 in. Place wires along the long side of the cardboard piece and secure with a tape. It makes the carton stronger and it bends evenly.
Step 2.
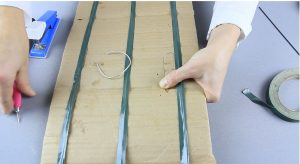
Now we need to find the place for a wire hook that will be inside the muff to let the user insert a few fingers and hold the muff. So this is the important trick – without the hook, the muff will be unbalanced and the front of it will slide down.
Mark the place for a wire hook. Make 2 holes and insert a wire through the cardboard – make sure you test the diameter of the hook by inserting a few fingers. Do not twist the wires yet.
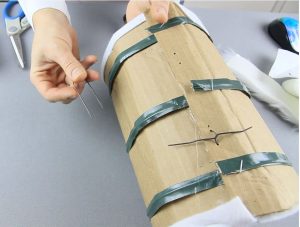
Step 3. Bend the cardboard in a roll.
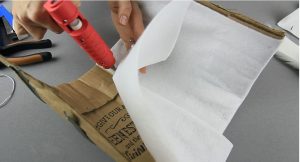
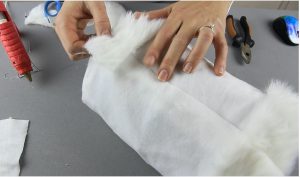
Step 4. Apply the soft material for inside part of the muff, glue the wool sheets and bend the leftovers over the edge.
Step 5.
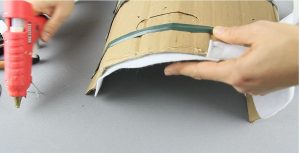
Now place a wire through the holes you punched before and make a hook, twist the ends of the wire on the other side.
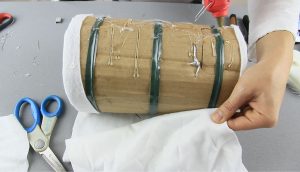
Step 6. Secure the cardboard ends into a roll by using the wire pins.
Step 7.
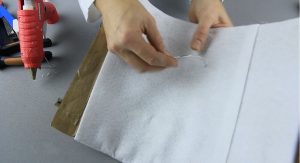
Cover the front with a soft fabric layer of wool, just glue onto the cardboard. Add the pieces of fur onto the sides of the muff.
. 
The base is ready and we can add the botanical materials!
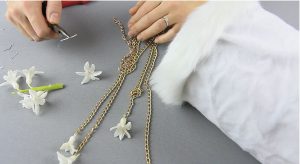
Step 7. Create the chains with hyacinth blooms. I used the jewelry eye pins and inserted the flower trough, make another hook at the pin to secure the flower onto a chain piece.
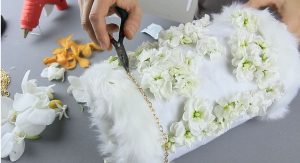
Step 8. Separate the Stock onto the blossoms, randomly glue the flowers onto the muff.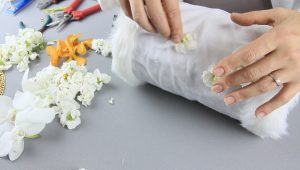
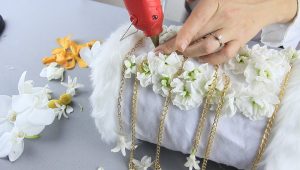
Step 9. Glue the chains onto the muff with hot glue.
Step 10.
Add orchids Mokara and Phalaenopsis, Craspedia to the muff by applying the cold blue on these flowers. 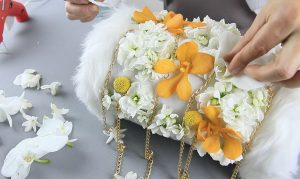
Step 11. Finish the design by covering all wholes with little blooms such as stock and hyacinth. Add yarn strings or other decorative elements if you wish. Voila! I adore this fresh floral hand muff that I designed in 2016 from scratch for the Learn How class.

Floral hand muff that I designed in 2016
Teach someone how to this type of the design properly and share some photos of your designs with me!